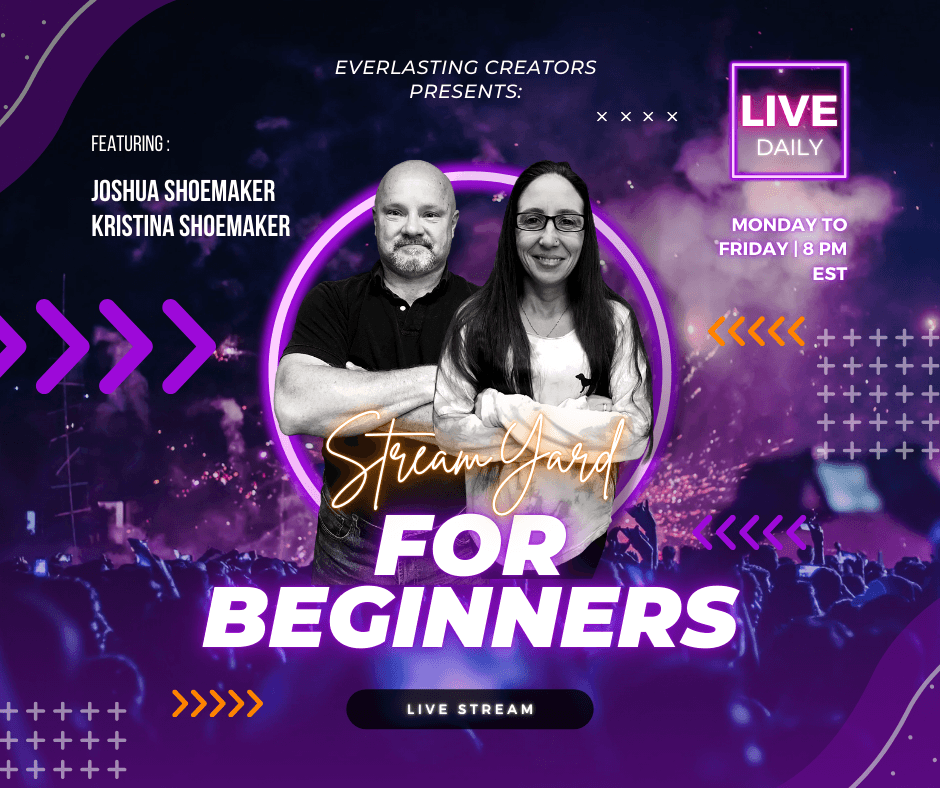
Have you ever heard the saying, “Two heads are better than one?” It refers to problem-solving. When it comes to productivity, combining two methods can bring you the results you truly need.

This is why many people combine time boxing and time blocking. To make this system work and increase their productivity on a higher scale, they incorporate Google Calendar.

Let's go through a step-by-step and easy process to use this system to your full advantage.

One of the first reasons why time boxing and time blocking seem to not work for you is not being truthful or understanding how long specific tasks take.

Step 1: Set your mind to be entirely honest about how long a task will take you. Avoid the old, “oh, I can do that in 5 minutes tops.” Next up, list those tasks and assign a real-time to get each one done.

Step 2: Sign in to your Google account and then open Google calendar. If this is the 1st time you have Google Calendar open, look to the top right-hand corner and find the Calendar Icon. To expand the calendar to full page, click the square with a line in the top right corner.

Note: Google calendar is a learned task, just like using Excel spreadsheets, for instance. You should explore and practice for the first few days before using it in real-time boxing and time blocking activities.

Step 3: Scan your calendar and look for continuous blocks of time for each and every task. This means you may have 2 blocks or 4 blocks of time that can be utilized to do task one and then another block for task two. 

The calendar shows in green, but after exploring all the utilities, you will note that you can change the colors for your blocks. This can be helpful if you write for a series of blocks and then email for another. 

Step 4: You will double-check the time you want to start your first task. For example, look at 9:00 am, place your cursor there, and double click. This opens a new window.

Step 5: Google Calendar will show you a line to place your title for your task. For example, “Outline a meeting.” Try to keep your titles as short as possible but still give enough description so that you do not open the calendar the next day and ask yourself, “what is this? I don't remember?”

Step 6: Now you need to set the end time of your task, and you will stop immediately at this time. Next to your start time of 9:00 am, it may say 10:00 am, but you will either keep it as such or click on it and change it to 11 am. When you click on time, it will act as a drop-down menu where you can pick your actual stop time instead of typing it out.

Step 7: Your final setup step for the first task is to hit the save button. Your work is now saved, and it is a case of rinse and repeat for all your tasks until you have everything from your to-do list moved into the calendar. 

Remember that an awesome idea is to share your calendar with friends, family, or coworkers to let them know when you are unavailable. For example, if you change the color of certain blocks to yellow, this is your “do not disturb me” warning. Also, Google calendar allows you to make multiple calendars, so you can create “Dave's Private Calendar” and then regular calendars under that. 

This is useful if you are learning something new and prefer to master it before sharing it.

Follow these steps and you will be a pro in record time.

Learn more about Time Boxing by joining our Facebook Group

https://web.facebook.com/groups/everlastingcreators


Leave a Reply

This site uses Akismet to reduce spam. Learn how your comment data is processed.